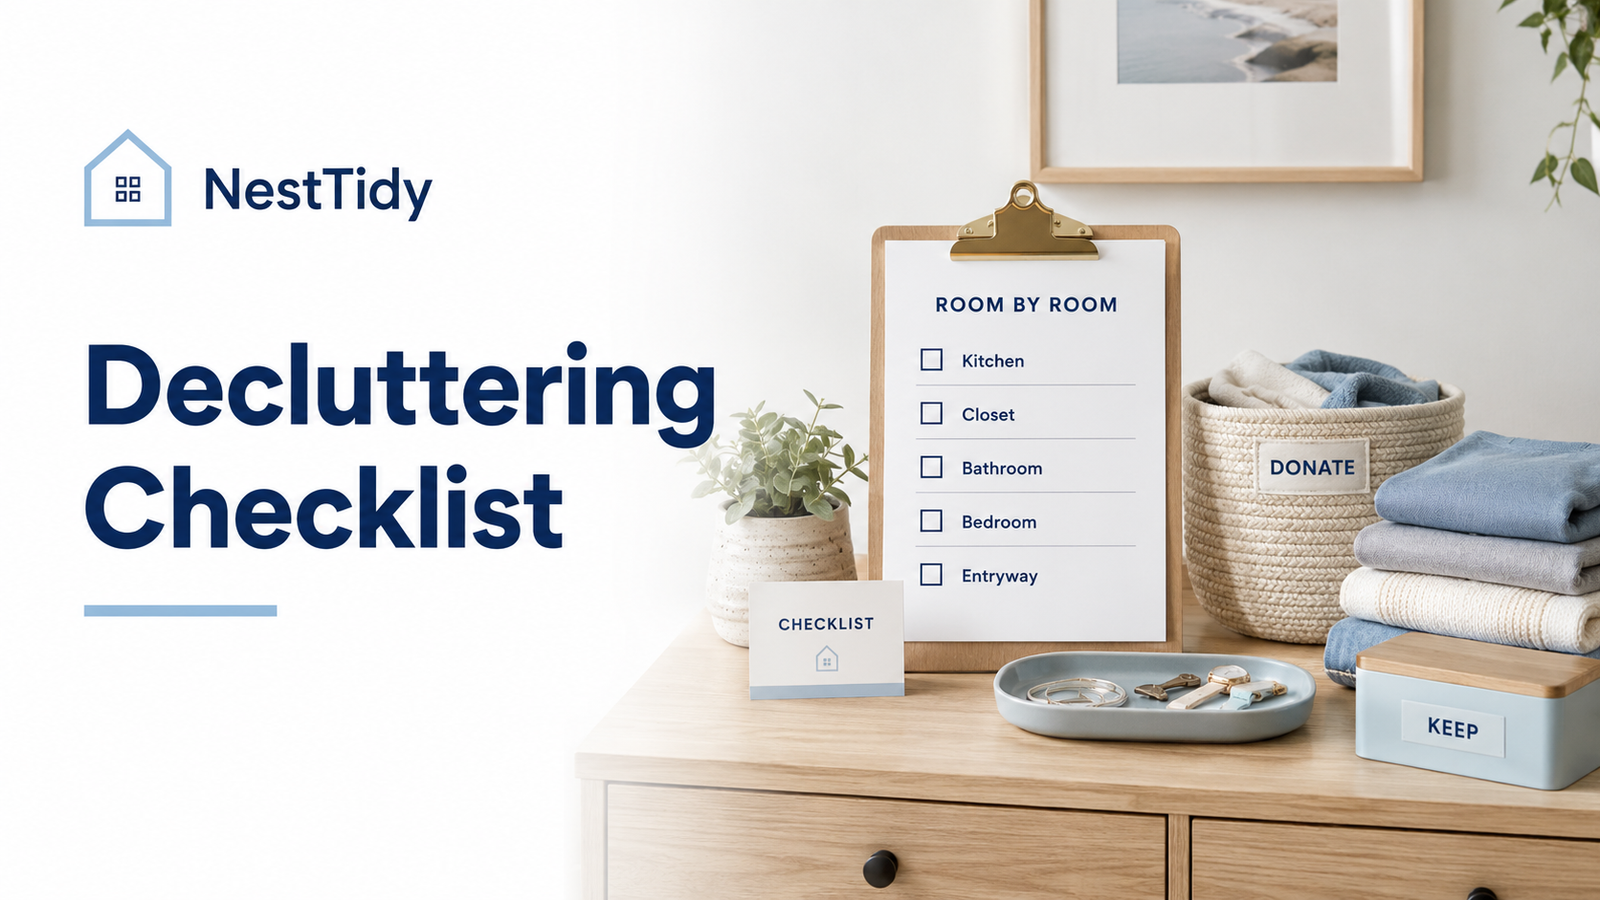
A Simple Decluttering Checklist: What to Do First, Room by Room
A decluttering checklist should make decisions easier, not give you another enormous project to feel behind on.
The most useful checklist is not a list of hundreds of random things you might own. It gives you an order: start with easy wins, work through one room in manageable sections, and complete the exit step for anything leaving the home.
Use this guide as a menu, not a deadline. You do not need to complete every room in one weekend.
Pick one area, finish it, and move to the next when you have the time and energy.
Key Takeaways
- Start with obvious trash, expired items, duplicates, and things that belong somewhere else.
- Work in small sections inside each room instead of emptying the entire room at once.
- Save sentimental and difficult categories for later, after you have built momentum.
- Remove donations, recycling, and trash before declaring a decluttering session finished.
- Use the checklist as a repeatable order of work, not as a race to clear the whole house.
Table of Contents
- Before You Start: Set Up a Simple Decluttering System
- The Simple Order to Use in Every Room
- Entryway Decluttering Checklist
- Kitchen Decluttering Checklist
- Bathroom Decluttering Checklist
- Bedroom Decluttering Checklist
- Closet Decluttering Checklist
- Living Room Decluttering Checklist
- Home Office and Paper Decluttering Checklist
- Storage Areas, Basement, and Garage Checklist
- Whole-Home Decluttering Checklist
- Mistakes That Make a Checklist Harder to Finish
- Frequently Asked Questions
Before You Start: Set Up a Simple Decluttering System
Before touching a drawer or cabinet, decide where the things leaving the space will go.
Prepare a few simple destinations: trash, recycling, donate, relocate, and—only when it is realistic—sell.
You do not need a complicated sorting station. A trash bag, a donation bag or box, and one small relocation basket are usually enough for a short session.
Choose a section you can finish. “Kitchen” is too large for a 20-minute session. “Top drawer next to the stove” is specific and finishable.
Quick Tip
Choose the size of the task before you start.
If you have 15 minutes, choose a drawer or shelf. If you have an hour, choose a cabinet, one closet section, or another contained area. Do not open more than you can put back before the session ends.
The Simple Order to Use in Every Room
You can use the same decision order in almost every part of the home.
- 1. Trash: packaging, broken items you will not repair, obvious garbage.
- 2. Expired or unusable: food, toiletries, supplies, or products that are no longer appropriate to use.
- 3. Relocate: items that belong in another room or category.
- 4. Duplicates: extras you do not need or use.
- 5. Easy donations: useful things you already know you are ready to let go.
- 6. Keep and organize: only after the easier decisions are finished.
- 7. Difficult or sentimental items: save these for a session when you have more time and attention.
This order reduces the number of difficult decisions at the beginning and creates visible progress quickly.
Entryway Decluttering Checklist
The entryway often becomes a transfer point for everything coming into the home. Keep it focused on what you actually need when leaving or arriving.
Clear First
- Recycle junk mail, flyers, receipts, and packaging that do not need action.
- Remove shoes that are out of season, uncomfortable, damaged, or rarely worn.
- Return bags, sports gear, tools, toys, and other items that belong elsewhere.
- Remove coats and accessories that are not in current rotation.
Keep Here Only If It Helps the Routine
- keys and wallet
- current shoes
- current outerwear
- one small place for incoming mail or action items
- frequently used bags or pet-walking supplies
Kitchen Decluttering Checklist
Kitchens collect both high-use essentials and low-use “just in case” items. Work by cabinet, drawer, or category rather than pulling out the entire kitchen at once.
Start With Easy Wins
- Discard expired food and empty packaging.
- Remove damaged containers and lids with no matching base.
- Reduce excess takeout utensils, condiment packets, and reusable bags.
- Donate duplicate mugs, bottles, gadgets, or serving pieces you do not use.
- Move non-kitchen items back to their proper rooms.
Then Check Function
- Keep daily cookware and dishes in easy-to-reach locations.
- Move seasonal or occasional items out of prime cabinet space.
- Reduce small appliances that rarely earn their counter or cabinet space.
- Keep counters focused on food preparation and a limited number of daily-use items.
Bathroom Decluttering Checklist
Bathrooms are easier to organize when daily-use products are separated from backups, occasional items, and products nobody is actually using.
Remove
- empty packaging and obvious trash
- products that are expired or no longer appropriate to use
- samples and hotel-size products you have no plan to use
- duplicates you dislike or consistently skip
- old grooming tools or accessories that are damaged or unused
Keep Accessible
- daily toiletries
- current medications stored according to their instructions
- one reasonable backup supply for frequently used basics
- clean towels appropriate to the household’s real needs
Bedroom Decluttering Checklist
A bedroom works better when it supports sleep, dressing, and a small number of personal routines instead of becoming overflow storage for the rest of the house.
Clear the Visible Clutter
- Remove dishes, packaging, papers, and items that belong in other rooms.
- Clear the nightstand of products, cords, and objects you do not use at bedtime.
- Move clean and dirty clothing to their proper destinations.
- Remove decorative items that make surfaces harder to use or clean.
Check Hidden Storage
- Review items stored under the bed instead of assuming they still deserve the space.
- Separate keepsakes from everyday clothing and accessories.
- Remove empty boxes, old bags, and unused storage containers that have become clutter themselves.
Closet Decluttering Checklist
Do not start with the most sentimental clothing. Begin with obvious decisions and work one section at a time.
Easy Decisions First
- damaged items you will not repair
- clothes that are uncomfortable and consistently avoided
- duplicates where one or two favorites are enough
- items that no longer fit your current life or routine
- empty hangers, bags, boxes, and packaging
Before You Put Things Back
- group similar items together
- keep current-season and frequently worn clothing easiest to reach
- store keepsake clothing separately from the everyday wardrobe
- leave enough room to remove and return items without fighting the rail or shelf
Living Room Decluttering Checklist
Living rooms attract items from other parts of the home because they are shared spaces. The first job is separating true living-room items from temporary visitors.
Remove or Relocate
- dishes and food packaging
- mail and paperwork that needs another destination
- clothing, shoes, and bags left in the room
- toys or hobby materials that have a better storage home elsewhere
- unused cables, old electronics, and accessories
Simplify What Stays
- limit blankets to what is actually used
- give remotes and chargers one predictable home
- reduce decorative objects if surfaces feel crowded
- keep coffee tables and seating areas usable rather than treating them as storage
Home Office and Paper Decluttering Checklist
Paper can create a large visual mess even when the actual decisions are simple. Work in small stacks and give every paper one next step.
Paper
- recycle obvious junk mail and duplicates
- shred documents that contain sensitive information when appropriate
- file documents that genuinely need to be retained
- create one limited action area for bills, forms, or papers requiring follow-up
- avoid creating a new “sort later” box without a review date
Desk and Supplies
- discard pens and markers that no longer work
- reduce duplicate stationery and promotional items
- remove old cables or devices only after confirming how they should be handled or recycled
- keep the main work surface clear enough for the work you actually do
Storage Areas, Basement, and Garage Checklist
These areas often contain postponed decisions. Do not attempt the whole room unless you genuinely have enough time. Work shelf by shelf, bin by bin, or category by category.
Good Categories to Review
- empty product boxes kept without a real reason
- broken tools or equipment you will not repair
- old paint, chemicals, batteries, electronics, or hazardous items that require appropriate local disposal
- outgrown sports or children’s equipment
- duplicate seasonal decorations
- projects abandoned long enough that you no longer intend to finish them
- storage bins that are empty or contain items you no longer value
Safety Check
- Do not place heavy items on unstable high shelves.
- Keep exits, electrical panels, utility equipment, and walkways accessible.
- Check local rules for hazardous waste, electronics, paint, batteries, and other regulated materials instead of putting them in ordinary trash.
Whole-Home Decluttering Checklist
At the Start of Every Session
- Choose one clearly defined area.
- Set a realistic stopping point.
- Prepare trash, recycling, donation, and relocation destinations.
- Start with low-emotion decisions.
Before You Call the Area Finished
- Put back only what is staying.
- Return relocated items to their real homes.
- Take out trash and recycling.
- Move donations toward an actual exit from the home.
- Set a short deadline for anything you plan to sell.
- Do not buy organizers until you see what storage problem remains.
To Keep Progress Going
- Choose the next small area instead of planning a whole-house overhaul.
- Repeat the same decision order.
- Revisit categories that keep overflowing.
- Watch what is entering the home as well as what is leaving.
Mistakes That Make a Checklist Harder to Finish
1. Treating the Checklist as a Deadline
A checklist is a decision aid, not a challenge you must complete in one day. Use it in sessions that fit your available time.
2. Starting With Sentimental Categories
Photos, letters, gifts, inherited objects, and keepsakes can slow the entire process. Build momentum with easier categories first.
3. Making a Huge “Maybe” Pile
A small undecided group can be useful, but a large maybe category postpones most of the decisions. Give it a physical limit and a review date.
4. Creating Donation Bags Without an Exit Plan
A donation box that stays in the house for months is still taking up space. Decide when and how it will leave.
5. Selling Too Many Low-Value Items
Selling requires photographing, listing, communicating, and completing the handoff. Reserve the sell category for items worth that effort.
6. Buying Containers Before the Decluttering Is Done
Wait until you know what is staying. The right storage solution depends on the remaining volume, dimensions, and routine.
7. Moving Clutter Into Another Room
Relocation should end with the item reaching its real home, not with a new pile somewhere else.
Frequently Asked Questions
What room should I declutter first?
Start with a room or small area where the decisions are relatively easy and the result will improve daily life. An entryway, bathroom cabinet, kitchen drawer, or visible surface is often easier than a garage, attic, or sentimental storage area.
Should I declutter by room or by category?
Both can work. Room-by-room is practical when you want to improve one space without gathering items from the whole home. Category-based decluttering can be useful when duplicates are spread across several rooms. Choose the method you can realistically finish.
How long should a decluttering session be?
Use the time you actually have. A 10- to 20-minute session can work well for a drawer or shelf, while a cabinet or closet section may need longer. The important part is choosing an area small enough to finish.
What should I get rid of first when decluttering?
Begin with obvious trash, expired or unusable items, things that belong somewhere else, duplicates, and easy donations. Save emotional and sentimental decisions for later.
How do I stop a decluttering checklist from becoming overwhelming?
Do not read it as one giant to-do list. Pick one room, then one section within that room. Complete the entire loop—decide, put back, remove what is leaving—and stop before opening another area.
Do I need to buy storage bins while decluttering?
Usually not at the beginning. Declutter first and see what remains. If a storage problem still exists, measure the exact space and choose a product for that specific category and routine.
Use the Checklist to Make the Next Decision Easier
The point of a decluttering checklist is not to prove that you can clear an entire house quickly.
It is to remove the question, “What do I do next?”
Choose one room. Choose one small section. Start with the easiest decisions. Finish the exit step. Then decide whether you have enough time and energy for another area.
A home becomes easier to manage through completed decisions, not through the number of boxes you open at once.